Introduction
Cake pops have taken the dessert world by storm, offering a delightful, bite-sized treat that combines the best of cake and candy. These little spheres of sweetness, coated in a chocolate shell and served on a stick, are not only delicious but also fun to make and decorate. Whether you’re crafting them for a birthday party, wedding, or just a fun weekend project, cake pops are an excellent way to impress your guests.
But how do you make them perfectly round, avoid cracking, and achieve that professional bakery-style finish? In this guide, we’ll cover everything from the history of cake pops to the best ingredients, step-by-step recipes, decorating ideas, and even tips on selling them for profit. By the end, you’ll be a cake pop pro!
The History of Cake Pops
When and Where Were Cake Pops Invented?
The concept of cake pops isn’t entirely new—variations of cake balls have been around for decades as a way to use leftover cake scraps. However, the modern cake pop as we know it today gained popularity thanks to Angie Dudley, a baker known as Bakerella, who introduced the world to beautifully decorated cake pops in 2008. She shared her creative designs online, and soon, cake pops became a viral sensation.
Why Did Cake Pops Become So Popular?
- Perfect for Any Occasion: Cake pops are ideal for birthdays, weddings, baby showers, and holiday celebrations.
- Easy to Eat: No need for forks or plates—just grab one and enjoy!
- Visually Appealing: Their cute, customizable designs make them a hit on social media.
- Great for Leftovers: They offer a creative way to use up extra cake and frosting.
Essential Ingredients and Tools for Making Cake Pops
Ingredients You’ll Need
- Cake: Any flavor of cake works—vanilla, chocolate, red velvet, or even funfetti!
- Frosting: Buttercream, cream cheese frosting, or store-bought frosting will help bind the cake mixture.
- Candy Melts or Chocolate: Used for coating the cake pops.
- Cake Pop Sticks: Also called lollipop sticks, these are essential for holding the pops.
- Vegetable Shortening or Coconut Oil: Helps thin out the chocolate for smoother dipping.
Tools to Have on Hand
- Mixing Bowls: To combine cake and frosting.
- Cookie Scoop: Ensures evenly sized cake balls.
- Styrofoam Block or Cake Pop Stand: Holds cake pops upright while drying.
- Microwave or Double Boiler: For melting chocolate.
Step-by-Step Cake Pop Recipe
Making cake pops from scratch is a fun and rewarding process. Follow these steps to create the perfect batch of cake pops!
Step 1: Bake the Cake
You can use a homemade cake recipe or a boxed cake mix. Here’s a simple recipe:
Ingredients:
- 1 ½ cups all-purpose flour
- 1 cup sugar
- ½ cup unsalted butter (softened)
- 2 eggs
- 1 tsp vanilla extract
- ½ cup milk
- 1 ½ tsp baking powder
- ¼ tsp salt
Instructions:
- Preheat your oven to 350°F (175°C) and grease a 9×13-inch baking pan.
- In a mixing bowl, whisk together flour, baking powder, and salt.
- In another bowl, beat the butter and sugar until creamy. Add eggs and vanilla, then mix well.
- Alternate adding the dry ingredients and milk to the butter mixture, stirring until combined.
- Pour the batter into the pan and bake for 25-30 minutes or until a toothpick inserted in the center comes out clean.
- Let the cake cool completely before moving on to the next step.
Step 2: Make the Cake Ball Mixture
Once your cake is cool, it’s time to break it down and mix it with frosting.
What You’ll Need:
- 1 baked cake (cooled and crumbled)
- ½ cup frosting (buttercream, cream cheese, or store-bought)
Instructions:
- Crumble the cake into fine crumbs using your hands or a food processor.
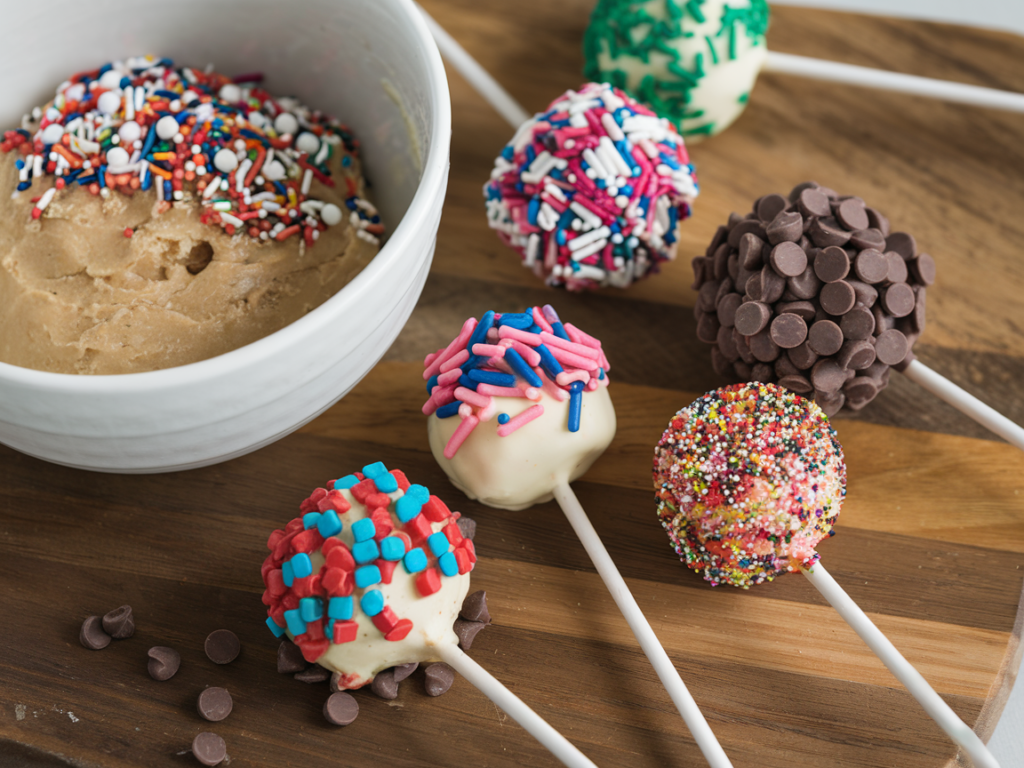
- Add ½ cup frosting and mix well until the cake becomes a dough-like consistency. It should hold together when squeezed.
- Roll the mixture into 1-inch balls using your hands or a small cookie scoop.
- Place the cake balls on a baking sheet lined with parchment paper.
Step 3: Insert the Sticks and Chill
- Melt a small amount of candy melts or chocolate.
- Dip the tip of a cake pop stick into the melted chocolate, then insert it halfway into a cake ball.
- Repeat for all cake balls, then refrigerate for at least 1 hour or freeze for 15 minutes. Chilling helps the pops stay firm during dipping.

How to Dip Cake Pops Without Cracking
Dipping cake pops can be tricky, but with the right technique, you’ll get a smooth, flawless coating.
Choosing the Right Chocolate or Candy Melts
- Candy melts: Best option for smooth and vibrant colors.
- White, milk, or dark chocolate: Adds a rich flavor but may need thinning with coconut oil.
Proper Melting Techniques
- Microwave: Heat candy melts in 15-second intervals, stirring in between, until smooth.
- Double Boiler: Melt chocolate over low heat, stirring constantly to prevent burning.
Best Dipping Techniques to Avoid Cracks
- Hold the cake pop by the stick and dip straight down into the melted chocolate.
- Gently swirl to coat, then tap off excess chocolate by tapping the wrist holding the stick (not the pop itself).
- Place the coated pops upright in a styrofoam block or stand until set.
Decorating Cake Pops: Creative Ideas
Now that your cake pops are dipped and set, it’s time for the fun part—decorating! There are endless ways to get creative with cake pops, whether you’re making them for a special occasion or just for fun.
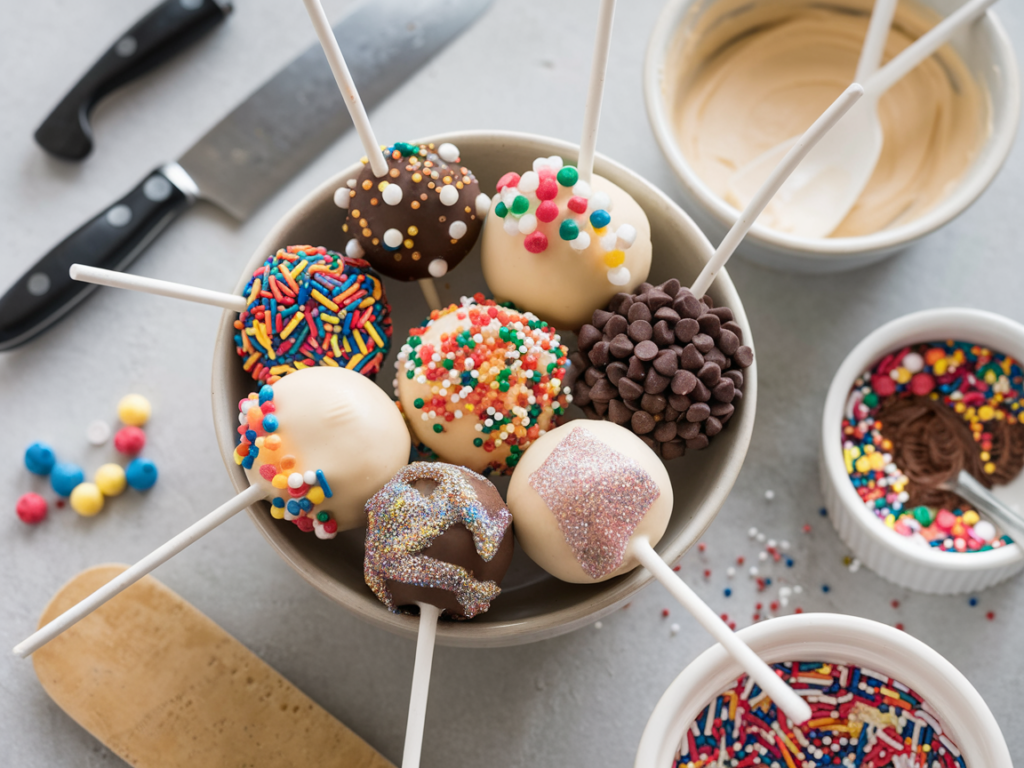
Using Sprinkles, Drizzles, and Edible Glitter
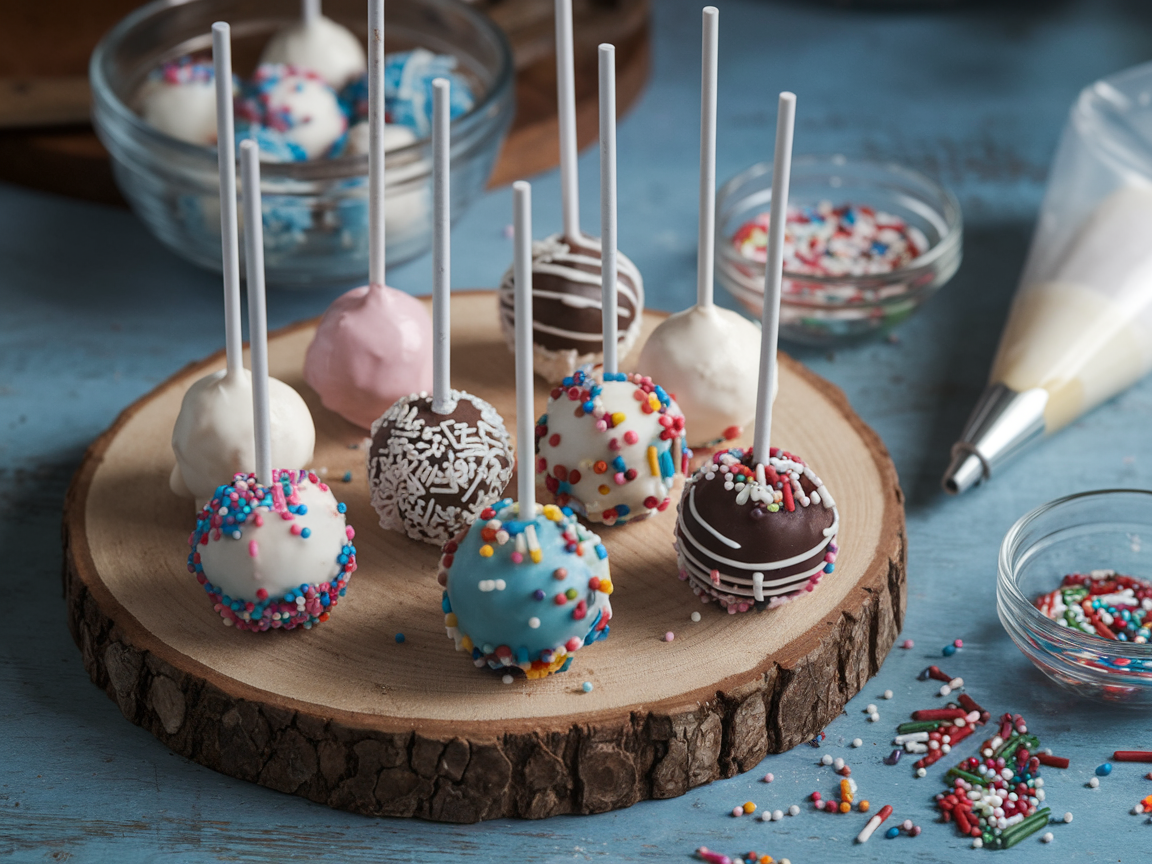
One of the easiest ways to decorate cake pops is by adding sprinkles, drizzles, or edible glitter before the coating hardens.
- Sprinkles: Simply dip your cake pop, then immediately roll or sprinkle on decorations.
- Chocolate Drizzle: Melt a contrasting color of candy melts or chocolate, then drizzle it over your cake pops using a spoon or piping bag.
- Edible Glitter & Dust: Use a food-safe brush to apply glitter for a shimmering effect.
Themed Cake Pops for Holidays and Special Occasions
Cake pops can be customized for holidays, birthdays, and themed parties. Here are some ideas:
- Halloween: Use orange candy melts and draw jack-o’-lantern faces with black edible markers.
- Christmas: Decorate with red and green sprinkles or make cake pops shaped like snowmen.
- Easter: Create pastel-colored cake pops with bunny or egg decorations.
- Birthdays: Personalize cake pops with names or age numbers using edible ink or fondant letters.
How to Make Character Cake Pops
Character cake pops require more detailed decorating but are always a hit!
Steps to Make Character Cake Pops:
- Plan your design: Choose a character (e.g., Mickey Mouse, Minions, or unicorns).
- Use fondant or candy melts: Shape small features like ears, noses, or eyes and attach them with melted chocolate.
- Draw details: Use edible markers or piped chocolate to add eyes, mouths, and other facial features.
- Finish with a glossy coat: Brush a small amount of corn syrup over the pop for a smooth shine.
Common Cake Pop Mistakes and How to Fix Them
Even experienced bakers run into issues when making cake pops. Here’s how to troubleshoot common problems.
1. Cake Pops Falling Off the Stick
Why it happens: The cake ball is too heavy or the stick wasn’t secured properly.
How to fix it: Dip the stick in melted chocolate before inserting it into the cake ball and let it set before dipping.
2. Cracked Chocolate Coating
Why it happens: The cake pop is too cold, causing the warm chocolate to crack when it sets.
How to fix it: Let cake pops sit at room temperature for a few minutes before dipping.
3. Lumpy or Uneven Texture
Why it happens: The chocolate is too thick.
How to fix it: Add a little vegetable shortening or coconut oil to thin the melted coating.
Storing and Transporting Cake Pops
Cake pops are best when fresh, but proper storage ensures they remain delicious for days. Whether you’re making them in advance for an event or transporting them as gifts, here’s how to keep them in perfect condition.
How to Store Cake Pops for Freshness
- At Room Temperature (1-2 Days)
- If the cake pops are fully coated in chocolate, they can be stored at room temperature in an airtight container.
- Keep them in a cool, dry place away from direct sunlight and heat.
- In the Refrigerator (Up to 1 Week)
- Store cake pops in an airtight container with parchment paper between layers to prevent sticking.
- Be mindful that refrigeration can cause condensation, which might make the coating sticky.
- In the Freezer (Up to 3 Months)
- Wrap each cake pop individually in plastic wrap, then place them in a freezer-safe container.
- Thaw at room temperature before serving to prevent moisture buildup.
Best Ways to Transport Cake Pops Without Damage
Transporting cake pops can be tricky since they are delicate. Here’s how to keep them safe:
- Use a Cake Pop Stand: A foam block or cake pop stand prevents them from rolling around during transit.
- Secure with Bubble Wrap: If using a box, place bubble wrap or tissue paper around the pops to minimize movement.
- Individually Wrap Them: Use small treat bags and ribbon to keep each cake pop protected.
Healthy and Vegan Alternatives for Cake Pops
For those with dietary restrictions, there are plenty of ways to make gluten-free, vegan, or healthier cake pops.
How to Make Gluten-Free Cake Pops
Substitute regular flour with gluten-free all-purpose flour or use a pre-made gluten-free cake mix.
Vegan Cake Pop Recipe
Ingredients:
- 1 ½ cups almond flour or oat flour
- ½ cup maple syrup
- ¼ cup coconut oil (melted)
- 1 tsp vanilla extract
- ½ cup plant-based milk
- Vegan chocolate or dairy-free candy melts
Instructions:
- Mix all ingredients to form a dough-like consistency.
- Roll into balls and insert sticks.
- Dip in melted dairy-free chocolate and decorate.

Best Occasions for Cake Pops
Cake pops are versatile treats that suit any celebration. Here are some of the most popular occasions to serve them:
- Birthdays: Customize them with colors, numbers, or character themes.
- Weddings: Elegant cake pops in white and gold are perfect for wedding receptions.
- Baby Showers: Create gender-reveal cake pops with pink or blue fillings.
- Holidays: Halloween, Christmas, Easter, and Valentine’s Day cake pops are always a hit.
- Corporate Events: Custom-branded cake pops for company parties or promotions.
How to Make Money Selling Cake Pops
If you love making cake pops, why not turn your hobby into a business? Here’s how to get started:
1. Starting a Cake Pop Business
- Perfect Your Recipes: Experiment with flavors and designs to create signature cake pops.
- Obtain Necessary Permits: Check local laws for selling baked goods from home.
- Create an Online Presence: Use social media or a website to showcase your work.
2. Pricing Your Cake Pops for Profit
- Calculate costs (ingredients, packaging, and time).
- Charge based on design complexity (simple pops vs. custom character designs).
- Offer bulk discounts for large orders.
3. Marketing and Packaging Ideas
- Use Instagram and TikTok to share decorating videos.
- Offer themed cake pop gift sets for holidays.
- Partner with local businesses for custom-branded cake pops.
FAQs About Cake Pops
1. How long do cake pops last?
At room temperature: 2 days, in the fridge: 1 week, in the freezer: up to 3 months.
2. Can I freeze cake pops?
Yes! Wrap them individually and store in an airtight container for up to 3 months.
3. What’s the best cake flavor for cake pops?
Chocolate, vanilla, and red velvet are popular, but any cake flavor works!
4. Do I need to refrigerate cake pops after making them?
Only if they contain perishable fillings like cream cheese frosting. Otherwise, they can be stored at room temperature.
5. Can I use cake mix instead of homemade cake?
Yes! Boxed cake mix works great for cake pops. Just make sure to adjust the amount of frosting added.
6. What’s the best way to color white chocolate for cake pops?
Use oil-based food coloring or candy coloring—avoid water-based food dyes as they can cause chocolate to seize.
Conclusion
Cake pops are a fun and versatile treat that can be customized for any occasion. Whether you’re making them for a party, selling them as a business, or just experimenting with new flavors, mastering the technique will ensure perfect results every time.
With the right tools, ingredients, and decorating ideas, you can create stunning cake pops that not only taste amazing but also look professional. Now, grab your mixing bowl and start creating some delicious cake pops today!

